
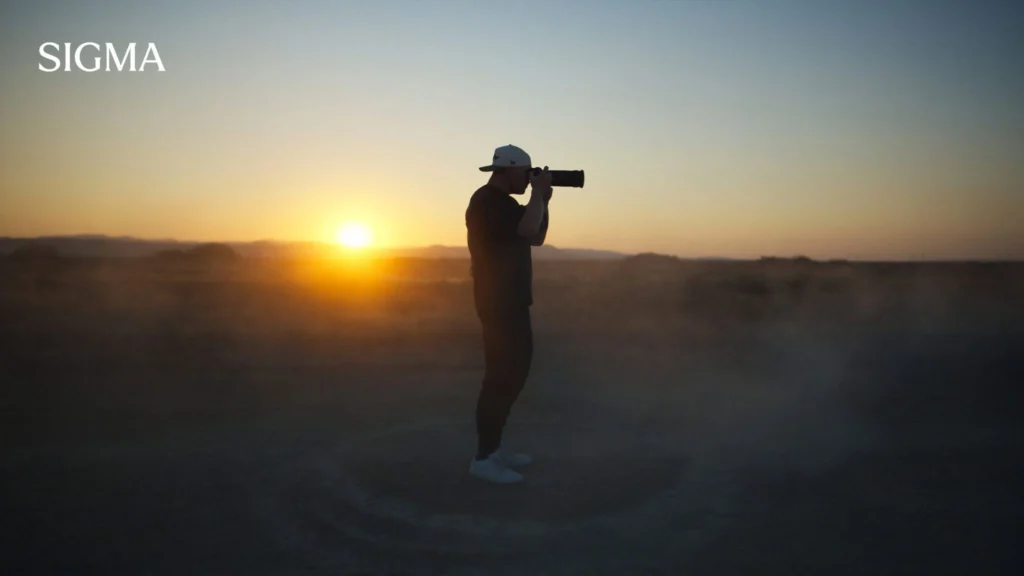
Most portrait shoots in Pakistan fail on light, not on gear. Golden hour photography solves that problem, and blue hour solves it a second way. Photography literally means drawing with light, from the Greek photo and graph. Your camera only records what the light gives it. Harsh midday sun flattens faces and burns skin highlights. One window wraps your subject in warm, forgiving light. The other fills the frame with a cool, cinematic tone.
This guide covers timings, camera settings, lenses and real shooting steps for both. Everything here is built for Pakistani light and Pakistani shooting conditions.
Golden Hour vs Blue Hour: What’s the Difference?
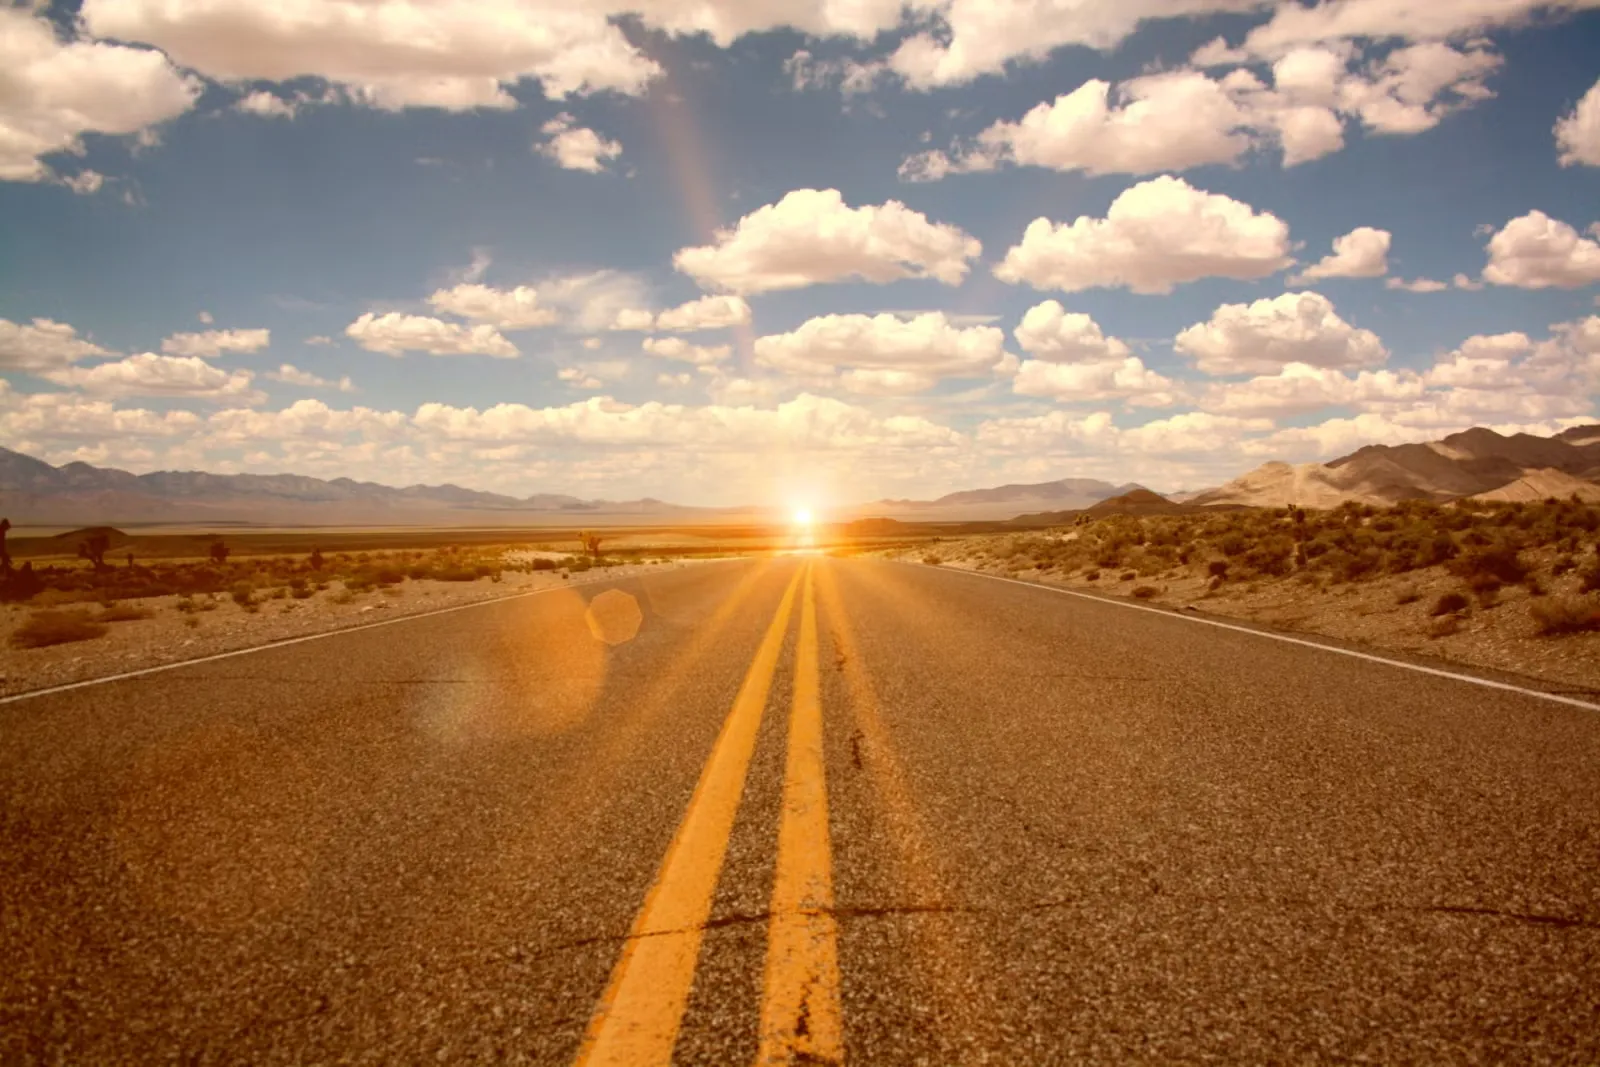
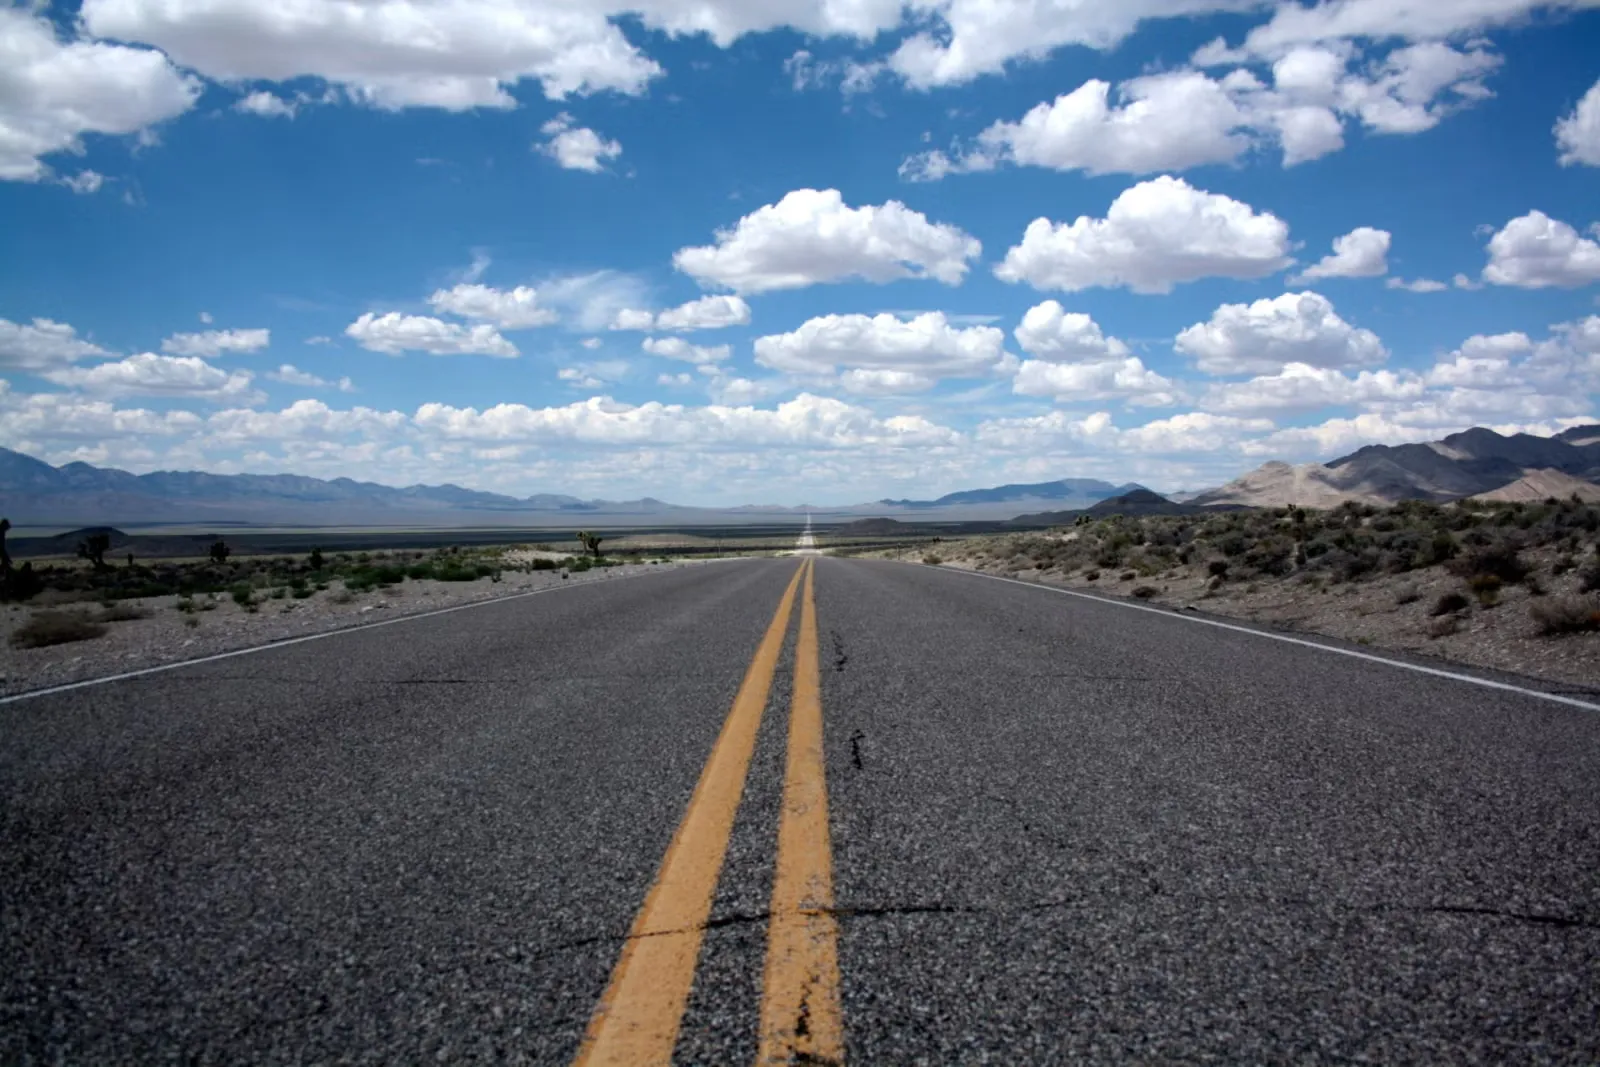
Golden hour vs blue hour comes down to where the sun sits. Golden hour runs while the sun is just above the horizon. Blue hour starts after the sun has already dropped below it.
Golden hour light travels through more atmosphere, so it turns warm and soft. Shadows go long, contrast drops, and skin looks smoother without any filter. Blue hour photography works with reflected sky light instead of direct sun. Colours shift cool, city lights balance with the sky, and the mood turns quiet.
| Factor | Golden Hour | Blue Hour |
|---|---|---|
| Sun Position | Just above the horizon | Below the horizon |
| Colour | Warm amber and orange | Cool blue and violet |
| Light Level | Moderate, dropping steadily | Very low, dropping fast |
| Best For | Warm skin tones and backlit hair | Moody city and architecture frames |
| Main Risk | Blown highlights and heavy flare | Motion blur and visible noise |
Golden hour is the safer choice for beginners. Blue hour asks more from your lens and your technique.
What Time Is the Golden Hour and Blue Hour in Pakistan?
Golden hour time in Pakistan shifts with the season and with your city. In June, the evening golden hour starts around 6:30 PM. In December, it starts closer to 4:30 PM. Karachi sits further west than Punjab, so its sun sets later on the clock. That gap runs close to 30 minutes in winter. Blue hour then follows about ten minutes after sunset in every city.
Golden Hour Times in Lahore, Karachi & Islamabad
Use the table below as a planning guide, then confirm exact times for your shoot date.
| City | Evening Golden Hour (June) | Evening Golden Hour (December) |
|---|---|---|
| Lahore | 6:30 to 7:10 PM | 4:30 to 5:05 PM |
| Islamabad | 6:35 to 7:15 PM | 4:30 to 5:05 PM |
| Karachi | 6:45 to 7:20 PM | 5:15 to 5:50 PM |
Morning golden hour mirrors these windows around sunrise. Lahore sunrise sits near 5:00 AM in June and 7:05 AM in December. Morning light has one clear advantage: the air is cleaner, public spots stay empty, and subjects look fresh.
Two local factors matter. Smog season in Punjab, roughly November to January, softens the sun much earlier. On heavy smog days the warm window can start 30 minutes sooner. Coastal haze in Karachi does something similar during humid months.
How Long Do Golden Hour and Blue Hour Last?
Golden hour rarely lasts a full hour in Pakistan. Plan for 30 to 45 minutes in summer and 25 to 35 minutes in winter.
Our latitude sits closer to the equator than Europe or Canada. The sun drops at a steeper angle here, so the warm window closes faster. Blue hour is shorter still, at roughly 20 to 30 minutes. That short window is why golden hour photography needs planning rather than luck.
Practical planning steps:
- Reach the location 45 minutes before sunset.
- Finish framing and posing tests before the light turns.
- Shoot your safest frames first, then experiment.
- Keep shooting after sunset instead of packing up.
- Reset exposure every five minutes as light drops.
Golden Hour vs Blue Hour Camera Settings for Portraits
Both windows lose light quickly, so settings need constant updates. Manual mode with auto ISO keeps you fast without losing control of depth and motion.
Golden Hour Photography Settings
The best camera settings for golden hour portraits start at f/2, 1/250s and ISO 100. Raise ISO in small steps as the sun sinks lower.
- Aperture: f/1.8 to f/2.8 for single subjects, f/4 for couples and families
- Shutter speed: 1/250s handheld, 1/500s when hair or dupatta moves in wind
- ISO: 100 to 400 early in the window, 800 near sunset
- White balance: 5500K to 6500K, since auto white balance often cancels the warmth
- Metering: spot meter on the cheek when the sun sits behind your subject
- File format: RAW, because highlight and shadow recovery matter most here
- Exposure: protect the bright sky first, then lift shadows in editing
One habit saves the whole shoot: check your histogram every few frames, not every few minutes.
Blue Hour Photography Settings
Blue hour camera settings need wider apertures and higher ISO. A safe starting point is f/1.4, 1/125s and ISO 1600.
- Aperture: f/1.2 to f/2 to collect as much light as possible
- Shutter speed: 1/125s for standing subjects, 1/60s only with support
- ISO: 1600 to 6400, based on how clean your sensor stays
- White balance: 3800K to 4500K to keep the blue honest and skin natural
- Focus: single point autofocus locked on the near eye
- Extra light: one small LED panel at low power lifts the face without killing mood
- Timing: shoot your best frames in the first ten minutes of the window
Light halves quickly here, so settings from five minutes ago are already wrong.
Best Lenses for Golden Hour and Blue Hour Portraits
Fast primes win in both windows. An f/1.4 lens gives clean subject separation and keeps your shutter speed safe after sunset. Zooms at f/2.8 still work well during golden hour. They struggle once blue hour arrives, because you lose two stops of light.
35mm vs 50mm vs 85mm for Outdoor Portraits
Pick focal length by how much background you want in the frame. Wider shows the place; longer shows the person.
| Focal Length | Best Use | Trade-Off |
|---|---|---|
| 35mm | Environmental portraits with sky and setting | Can exaggerate facial features if you move too close |
| 50mm | Half-body portraits and tight streets | Less background separation than longer focal lengths at similar framing |
| 85mm | Head-and-shoulders portraits with soft backgrounds | Needs more working distance and open space |
For golden hour portrait photography in open ground, an 85mm compresses the setting sun into a soft glow. In the narrow lanes of the Walled City, a 35mm keeps the architecture and the story. Along the Margalla trails, 50mm handles both without a lens swap.
Best SIGMA Lenses for Golden Hour and Blue Hour
SIGMA’s fast primes cover both windows well. The 85mm F1.4 DG DN Art and 50mm F1.4 DG DN Art are the safest portrait picks.
- SIGMA 85mm F1.4 DG DN Art: classic portrait reach with strong flare control against the sun
- SIGMA 50mm F1.4 DG DN Art: the most flexible pick for couples, singles and half-body frames
- SIGMA 35mm F1.4 DG DN Art: wider storytelling frames that keep the sky in shot
- SIGMA 85mm F1.2 DG Art: the brightest portrait prime SIGMA makes, built for blue hour and the shallowest depth
- SIGMA 135mm F1.4 DG Art: heavy reach for open fields and strong compression
- SIGMA 56mm F1.4 DC DN Contemporary: light and affordable option for APS-C bodies
An f/1.4 prime gathers four times more light than an f/2.8 zoom. That gap decides whether your blue hour frames stay sharp.
Two honest notes before you buy. These primes rely on your camera body for stabilization, not on lens stabilization. Mount availability also differs, and Canon RF options are APS-C only. Compare the full range in the best portrait lens guide or ask the team directly.
How to Shoot Backlit Golden Hour Portraits
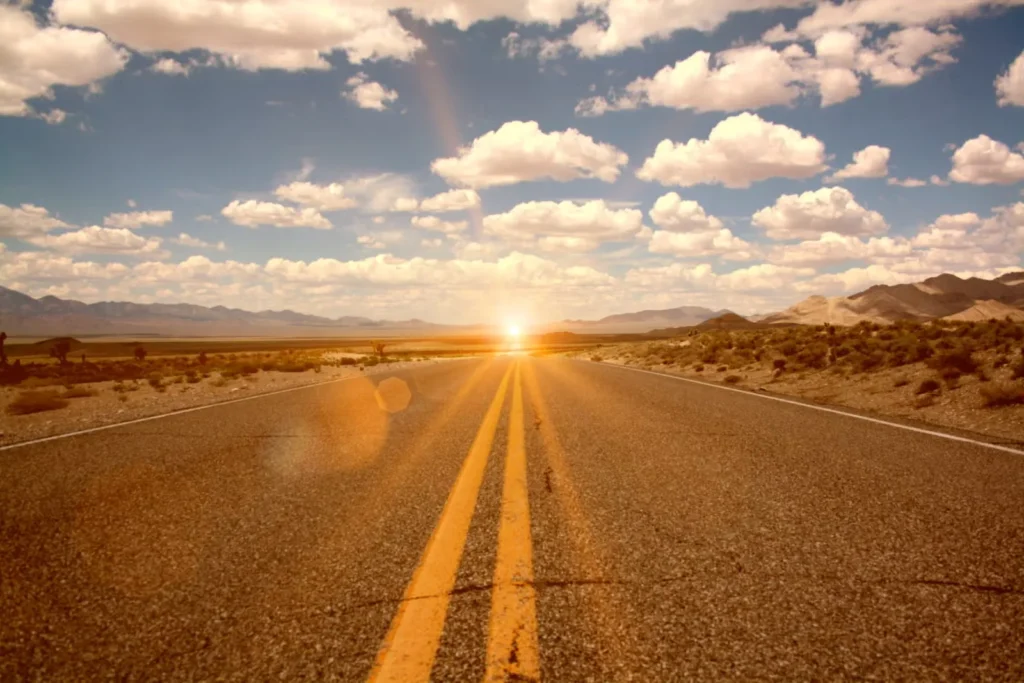
Place the sun behind your subject, then meter for the face. Let the background stay bright instead of chasing a balanced exposure. Backlit golden hour portraits give you a glowing hair line and clean, even skin. Shadows on the face stay soft, because light bounces off the ground around you.
Steps that work every time:
- Turn your subject so the sun sits behind a shoulder or head.
- Spot meter on the cheek and add half a stop.
- Block direct sun with your hand or a lens hood for stronger contrast.
- Remove the hood when you want haze and a dreamy glow.
- Bounce light back with a white wall, reflector or plain white sheet.
- Switch to manual focus if autofocus hunts in heavy flare.
- Shoot low and angle the camera up for a cleaner background.
Clean your front element before any backlit work. Dust and fingerprints turn into milky haze when sunlight hits the glass. Golden hour photography also rewards patience here. The best rim light usually appears in the last ten minutes before sunset.
Rim Light vs Silhouette
Rim light keeps facial detail with a bright outline around the subject. A silhouette drops the face to black and keeps only the shape.
- For rim light: expose for the face, then pull highlights down in editing
- For silhouette: expose for the sky, around two stops darker than the face
- For clean shapes: separate arms from the body and turn the face to profile
- For location: ridge lines, open water and empty roads give the cleanest edges
Sea View in Karachi and the higher Margalla viewpoints both work well for silhouettes. Anything with a clear horizon behind your subject will do the job.
How to Avoid Blurry or Grainy Blue Hour Portraits
Blur comes from a slow shutter, not from low light itself. Grain comes from underexposure more than from a high ISO number.
Fix both with the same approach. Keep the shutter fast enough for people, then expose brightly at whatever ISO that needs.
- Hold the shutter at 1/125s or faster for standing subjects.
- Raise ISO before you slow the shutter down.
- Expose slightly bright, then pull it back in editing.
- Turn on in-body stabilization and brace against a wall or railing.
- Shoot short bursts of three frames and keep the sharpest one.
- Use continuous autofocus with eye detection switched on.
- Apply noise reduction at the end of your edit, never at the start.
Check sharpness at 100% on the back screen once per setup. Guessing at blue hour can cost you the entire set.
Do You Need a Tripod for Blue Hour Photography?
You do not need one for standard portraits. A tripod only helps below 1/60s, or when you blend two exposures for sky and subject.
- Useful for: city backgrounds, light trails, low-ISO group shots
- Not useful for: moving subjects, quick pose changes, candid work
- Middle ground: a monopod steadies you without slowing the shoot
Most blue hour portrait problems come from shutter speed choices, not from missing support gear.
Golden Hour vs Blue Hour: Which Should You Choose for Portraits?
Choose golden hour for warm, flattering skin tones and easier handheld shooting. Choose blue hour for moody, cinematic frames with city light in the background.
Golden hour suits bridal, family and graduation work. It forgives small exposure mistakes and needs no extra lighting. Blue hour suits fashion, couple and creative shoots. It needs a faster lens, a steadier hand and a subject who can hold still.
One common mistake ends most shoots early: people pack up at sunset, right before the second window opens.
The strongest answer is to shoot both in one session:
- Arrive 45 minutes before sunset and start with warm frames.
- Move to backlit and silhouette shots as the sun touches the horizon.
- Change your settings the moment the sun disappears.
- Keep shooting for 25 more minutes as the sky turns blue.
- Deliver two clearly different moods from a single hour of work.
Gear decides how far you can push that second half. Golden hour photography is forgiving, while blue hour exposes every weakness in a slow lens.
SIGMA Pakistan is run by Hope Enterprises, the authorized SIGMA distributor in the country. The showroom sits at Camera Market, 86 Chamberlain Road, Nisbat Road, Lahore. The team can match a fast prime to your exact camera mount. Browse the full SIGMA lens range before your next shoot.
FAQs by Photographer
Is the blue hour before or after the golden hour?
Both. Blue hour comes after golden hour in the evening and before it in the morning. It starts once the sun drops below the horizon.
Which is better for portraits: golden hour or blue hour?
Golden hour is better for most portraits. It gives warm, flattering skin tones and easier handheld shooting. Blue hour suits moody, cinematic work with city lights.
What aperture is best for golden hour portraits?
Use f/1.8 to f/2.8 for single subjects. Move to f/4 for couples and groups. Wider apertures blur the background while keeping your shutter speed safe.
Do you need a tripod for blue hour photography?
No, not for standard portraits. A wide aperture, a shutter at 1/125s or faster, and a higher ISO handle most shots. Use a tripod only below 1/60s.
How long does the golden hour last?
Golden hour lasts 30 to 60 minutes globally, but rarely the full hour. In Pakistan, expect 30 to 45 minutes in summer and 25 to 35 minutes in winter.
Can you shoot golden hour portraits with a kit lens?
Yes. A kit lens works well during golden hour, because light is still strong. Zoom to 50mm or longer, open the widest aperture, and shoot before sunset.
