
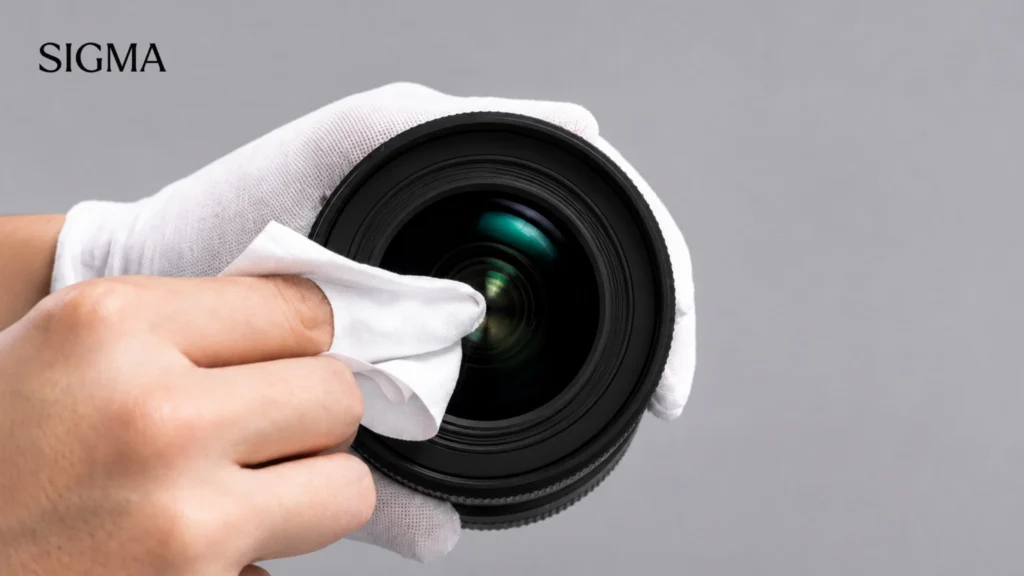
A fingerprint on your lens does not always mean a ruined photograph, and a few dust particles do not automatically mean your equipment needs servicing. Good lens care starts with knowing what needs cleaning—and what is better left alone.
These camera lens cleaning tips explain how to inspect your lens, remove surface contamination, protect your cleaning tools and recognise problems that need professional attention. The focus is on accessible lens surfaces and accessories, rather than opening a lens or cleaning your camera’s sensor.
At Hope Enterprises, lens inspection and cleaning were also part of a recent SIGMA event. Bringing practical equipment care into these activities helps connect photography knowledge with the lenses people use.
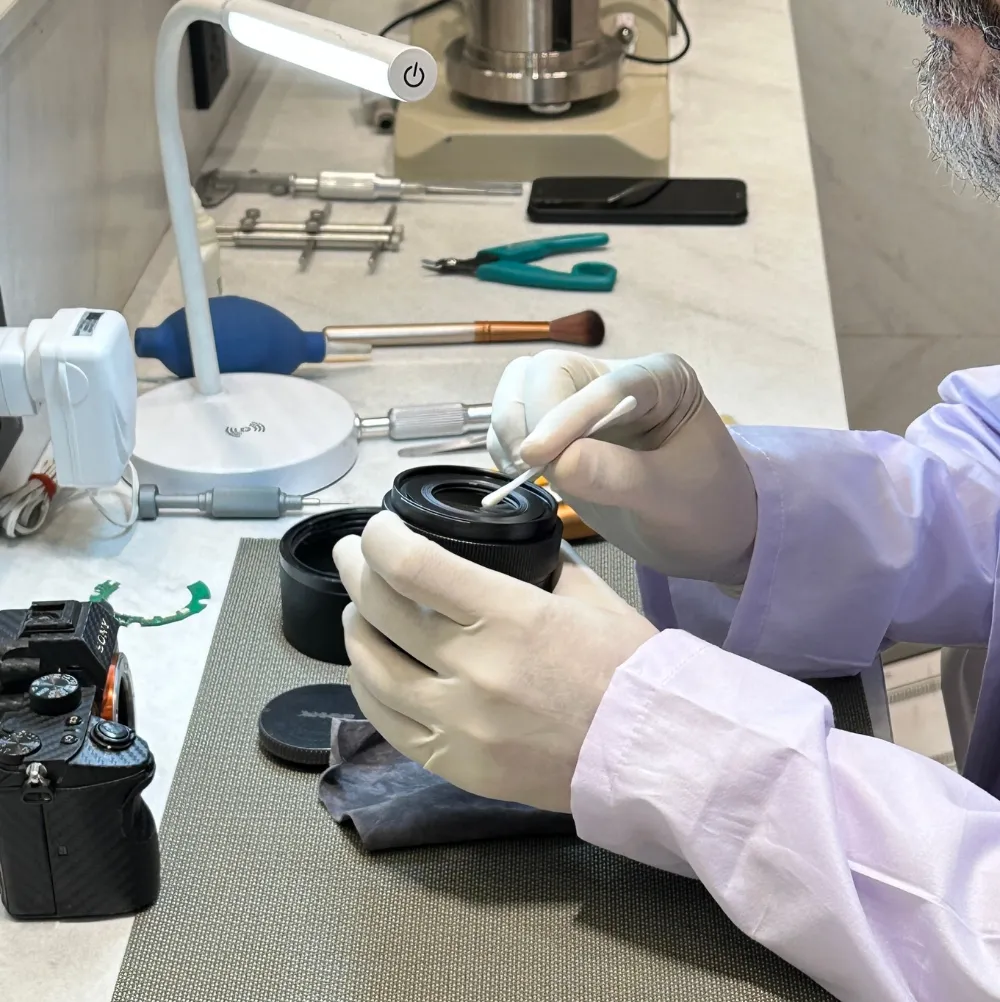
To clean a camera lens safely, inspect it first, remove loose dust with a hand blower, and clean remaining smudges only when necessary. Use materials suitable for coated optics, apply approved cleaning fluid to the cloth rather than directly to the glass, and stop once the surface is clean.
Does Your Camera Lens Actually Need Cleaning?
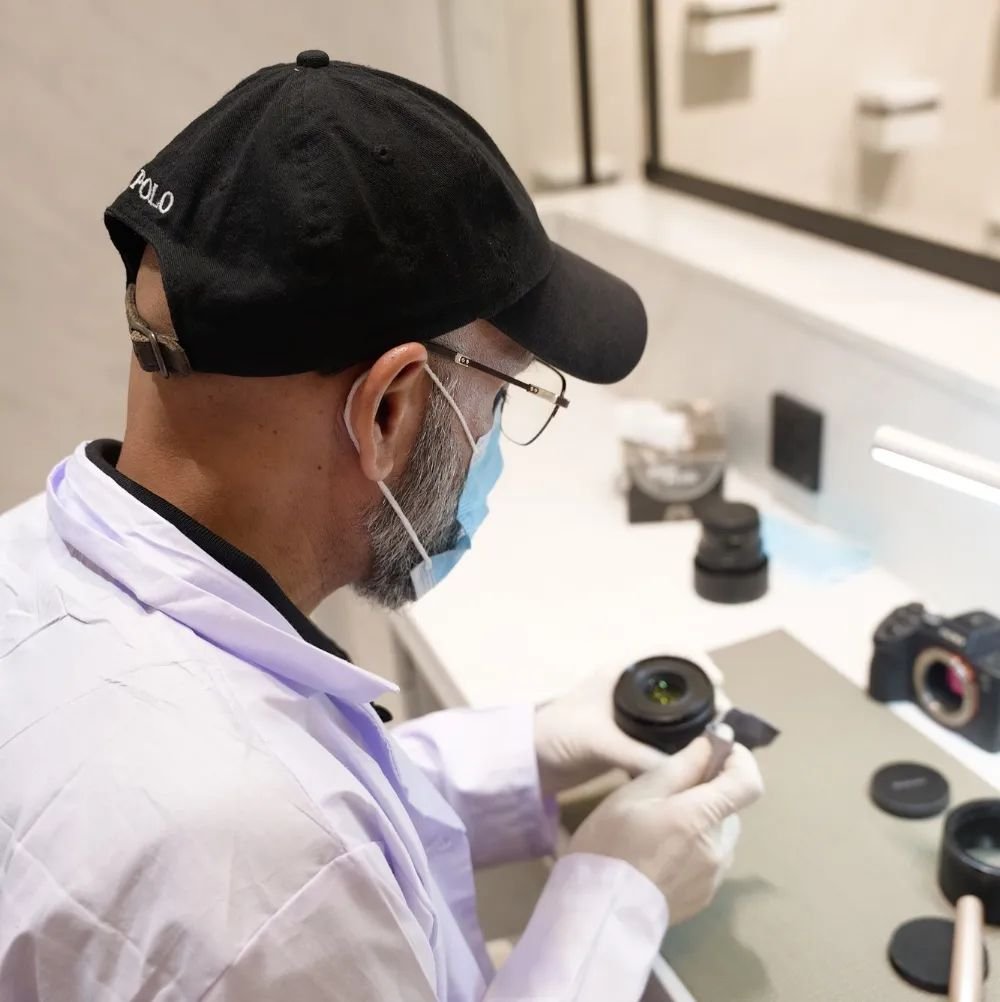
Inspecting your lens regularly is useful. Wiping it every time you remove the cap is usually unnecessary. Before cleaning, look at the front element under gentle, angled light. Check the protective filter separately if one is attached. A mark on the filter can be mistaken for contamination on the lens itself.
Loose Dust vs Fingerprints and Smudges
A few small particles on the front element may have little noticeable effect on photographs. Oily fingerprints, substantial smears and other contamination can scatter light, potentially reducing contrast or making flare more noticeable.
The effect depends on the contamination and shooting conditions. Avoid assuming that every soft photograph is caused by dirty glass. Missed focus, subject movement and camera shake are other possibilities. Our guide to why your photos look blurry explains how to investigate those problems.
Surface Marks vs Internal Problems
External cleaning can remove suitable surface contamination. It cannot reach dust between lens elements, repair scratches or restore damaged coatings.
| What You Notice | What to Check | Appropriate Next Step |
|---|---|---|
| Loose dust on the front surface | Whether it is on the filter or lens | Start with a hand blower |
| Fingerprints or an oily smear | Whether loose particles are also present | Remove particles before gentle cleaning |
| Haze that remains after external cleaning | Whether it appears inside the lens | Ask for an inspection |
| Suspected branching or web-like growth | Whether it is beneath an accessible surface | Seek advice about possible fungus |
| Spots recurring in the same image position | Whether the camera sensor may be involved | Follow the camera’s diagnostic guidance |
Scratches belong in a separate category: they are physical damage, not dirt that can be wiped away.
What Should Be in a Camera Lens Cleaning Kit?
A useful camera lens cleaning kit contains a few suitable tools. Keeping those tools clean matters as much as owning them.
| Tool | Purpose | Handling Tip |
|---|---|---|
| Hand-Squeeze Blower | Removes loose surface particles | Keep the nozzle away from the glass |
| Dedicated Optical Brush | Gently lifts remaining loose debris when appropriate | Protect the bristles from dirt and finger oils |
| Lens-Safe Microfiber Cloth | Cleans accessible optical surfaces | Keep it separate from exterior-cleaning cloths |
| Purpose-Made Optical Tissue | Provides a fresh cleaning surface | Use tissue intended for optical equipment |
| Suitable Lens Cleaning Solution | Helps remove marks that need more than dry cleaning | Check compatibility and follow its instructions |
A cloth used on a dusty camera bag or lens barrel should not immediately be used on the glass. Store optical cleaning materials in a clean pouch, and replace or clean them according to their instructions.
Before choosing a cleaning product, check the instructions for your equipment. The official SIGMA support hub provides access to manuals and product support resources.
How to Clean a Camera Lens Safely: Step by Step
Work through these steps gradually. If the blower removes the problem, there is no need to continue to wet cleaning.
Step 1: Prepare a Clean Workspace and Inspect the Lens
- Choose a stable surface away from blowing dust, sand and open drinks. Make sure your hands and cleaning materials are clean.
- Remove loose dirt from the exterior before exposing the glass. Then remove the cap and inspect the surface. If a filter is fitted, determine which surface actually needs attention.
- When accessing the rear element, follow the equipment’s handling instructions and keep the camera body protected. Avoid touching the glass or exposed camera internals.
Step 2: Remove Loose Dust with a Hand Blower
- Hold the lens securely with the surface angled downward where practical. Use controlled puffs from a hand-squeeze blower to move loose particles away.
- Do not let the blower tip touch the glass. Avoid blowing with your mouth, which can introduce droplets.
- A hand blower is different from an aerosol air duster. For general equipment-care guidance, Sony’s camera and lens cleaning instructions advise against compressed-air dusters.
Step 3: Use a Suitable Clean Brush Only If Needed
- If loose particles remain, a dedicated optical brush may help lift them gently.
- Use minimal pressure and check that the brush itself is clean. Do not use the same dirty brush on the lens barrel and then sweep it across the optical surface.
- If a mark does not move easily, stop treating it as loose dust. Repeated brushing or extra pressure may not be the right solution.
Step 4: Gently Remove Remaining Smudges
- Once loose particles have been removed, address fingerprints or other remaining marks with suitable lens-cleaning materials.
- Where approved fluid is needed, lightly moisten the cloth or optical tissue according to the product instructions. Do not pour or spray the solution directly onto the lens.
- Use light, controlled movements and a clean part of the material. Follow any specific instructions for the lens and cleaning product. Manufacturer guidance commonly describes gentle circular wiping from the centre outward. Sony’s lens-maintenance guide illustrates this approach.
- Avoid soaking the surface or repeatedly rubbing a stubborn mark. More pressure is not a substitute for identifying what the mark is.
Step 5: Recheck the Surface and Replace the Caps
- Inspect the glass again under angled light. Check for remaining smears or streaks without trying to eliminate every tiny particle.
- Once the surface is clean, stop. Replace the appropriate caps and store the cleaning tools where they will stay clean.
- If a mark persists, leave it for assessment rather than continuing with stronger chemicals or more force.
Lens Inspection and Cleaning at the Hope Enterprises SIGMA Event

The recent SIGMA event arranged by Hope Enterprises included lens inspection and cleaning. These practical activities bring attention to a part of photography that is easy to overlook: caring for the equipment between shoots.
Inspection and cleaning serve different purposes. Inspection helps establish what is present and where it is located. Cleaning addresses contamination that can be removed appropriately from an accessible surface.
For photographers, this distinction is useful beyond an event. Before reaching for a cloth, ask three questions:
- Is the mark on the filter, the lens surface or somewhere inside?
- Does it require cleaning, or is it a small amount of harmless dust?
- Can the issue be handled with routine external care, or does it need assessment?
A careful approach helps avoid unnecessary intervention. It also makes it easier to describe an unresolved problem when contacting support.
Camera Lens Cleaning Mistakes to Avoid
Many cleaning problems begin with the wrong material or an attempt to remove something that is not ordinary surface dirt.
Avoid these habits:
- Wiping before removing loose grit. Particles can be dragged across the surface.
- Using a dirty cloth or clothing. Fabric may carry grit, oils or residue.
- Confusing paper towels with optical tissue. Purpose-made lens tissue is designed for a different use.
- Applying fluid directly to the lens. Follow the cleaning product’s instructions and apply it to suitable material.
- Using unapproved household cleaners. A product suitable for windows is not automatically suitable for coated optics.
- Pressing harder on persistent marks. Stop and investigate instead.
- Opening the lens to remove internal dust. Internal work requires appropriate equipment and expertise.
Cleaning also does not solve every focusing problem. If the glass is reasonably clean but focus remains unreliable, follow a separate autofocus troubleshooting process.
How to Care for Lens Caps, Filters and Your Camera Bag
Clean glass can quickly become dirty again if the accessories touching or surrounding it are neglected.
Check the inside of front and rear caps for loose debris. Keep them away from sand, dirty pockets and work surfaces. If you need help selecting replacements, see our guide to choosing the right lens cap.
Clean filters according to their manufacturer’s instructions. A protective filter is an optional accessory, and its suitability depends on the lens and shooting situation.
Lens hoods also vary in construction. Do not assume every hood can be soaked or washed with soap, particularly if it has internal fabric or specialised finishes.
Empty loose debris from your camera bag and keep its interior dry. Use separate materials for cleaning the bag, barrel and optical surfaces.
How Often Should You Clean and Inspect Your Lens?
Check your lens before an important shoot and after conditions that may leave contamination. Clean according to what you find, rather than following a fixed daily or weekly wiping schedule.
After a dusty outdoor shoot, inspect the barrel, filter and cap before packing everything away. After moisture exposure, follow the equipment’s care instructions and avoid storing damp gear in a closed bag.
Humidity control also matters during storage. Maintain silica gel or a dry cabinet according to the relevant instructions; desiccant does not remain effective indefinitely.
For more detailed storage advice, read our guide to spotting and preventing camera lens fungus in Pakistan.
Weather resistance should not be treated as waterproofing. Photographers working in wet conditions can also follow our guidance on protecting camera gear during monsoon photography.
When Should You Contact Hope Enterprises for Lens Inspection?

Ask for advice when external cleaning does not address the problem or when there are signs of damage.
Reasons to contact support include:
- Persistent internal haze or suspected fungus.
- Liquid exposure or impact damage.
- A mark that remains after appropriate gentle cleaning.
- Unusual mechanical behaviour or continuing performance problems.
- Uncertainty about whether a surface is dirty or damaged.
Lens cleaning, sensor cleaning and focus calibration are different tasks. A lens cloth is not a substitute for sensor-cleaning equipment, and a lens does not automatically need calibration because photographs appear soft.
Contact SIGMA Pakistan service and support through Hope Enterprises with your lens model and a description of the issue. The team can advise on the next step and confirm the relevant service arrangements.
Frequently Asked Questions About Camera Lens Cleaning
Can I Clean My Camera Lens with a Microfiber Cloth?
Yes, provided it is clean and suitable for optical surfaces. Remove loose particles first. Do not use a cloth that has picked up dirt from your bag, clothing or lens barrel.
Can I Use Water, Alcohol or Glass Cleaner on a Camera Lens?
Follow the lens and cleaning-product instructions. Household glass cleaner, hand sanitiser and homemade mixtures are not substitutes for a product approved for the relevant optical surface. Do not assume a cleaner is suitable simply because it contains alcohol.
Does Dust Inside a Lens Affect Image Quality?
Small amounts may have little noticeable effect, but the impact depends on the amount, location and shooting conditions. Do not dismantle a lens merely because you can see a few particles. Seek assessment if there is persistent haze or a noticeable problem.
Is Lens Cleaning the Same as Sensor Cleaning?
No. Lens cleaning concerns accessible optical surfaces. Sensor cleaning concerns the imaging assembly inside the camera and requires different procedures. Consult your camera’s instructions or support team before attempting it.
Can Cleaning Remove Lens Fungus or Scratches?
Ordinary external cleaning cannot remove contamination between lens elements or repair scratches. Suspected fungus needs assessment, and removing growth may not reverse existing damage. Avoid polishing compounds or attempts to rub scratches away.
The most useful lens-care habit is simple: inspect first, clean only what needs cleaning, and stop when the job is done.
